How to Organize a Small Warehouse
How to Organize a Small Warehouse
If your business has a small warehouse, you know the scene well: boxes stacked as far as the eye can see, duplicate products bought because nobody knew they were already there, half an hour spent looking for an item a customer is waiting for, and an inventory count that never adds up at the end of the month. In a small space, clutter is not just an aesthetic problem: it costs money. The good news is that organizing a small warehouse does not require remodeling or expensive shelving. It requires a clear method, simple decisions and the discipline to keep them up. In this article we show you how to do it step by step.
Set the goal before you move the first box: any person, not just the one who put the merchandise away, should be able to find any product in less than a minute. If finding something depends on a coworker's memory, your warehouse is not organized: it is full of secrets that only one person knows.
Step 1: define the zones of your warehouse
Every warehouse performs three basic functions: receiving, storing and dispatching. When those functions share the same corner, every new delivery disturbs what was already stored and every order mixes up what should stay still. That is why the first step is to divide the space into zones and give each one a single purpose, even if you only mark them with colored tape on the floor.
| Zone | What happens there | Main rule |
|---|---|---|
| Receiving | Unloading new merchandise, counting it, checking it and comparing it with the delivery note | Nothing enters the shelves before it is received and verified |
| Storage | Keeping merchandise in its assigned location | Every product has a single fixed location |
| Dispatch | Preparing orders and handing them to the customer or the carrier | Nothing leaves without its exit recorded |
| Returns and holds | Separating returned, damaged or reserved merchandise | It is reviewed and its fate is decided within a fixed deadline |
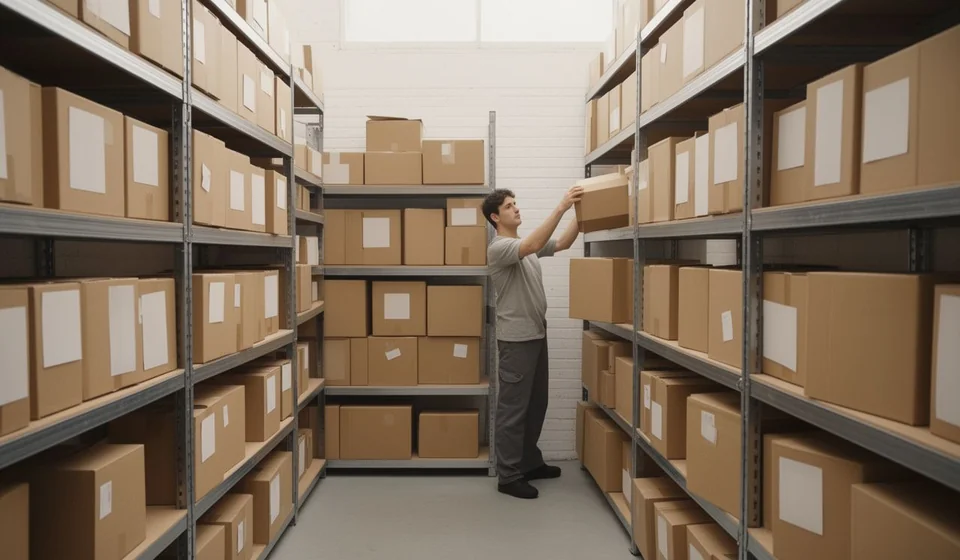
Place the receiving zone near the entrance and dispatch near the exit or the counter. Storage goes in the middle or at the back. That way merchandise moves in one direction: it comes in on one side, is stored in the middle and leaves on the other, with no crossing paths and no blocked aisles.
Also define what happens before storing: every box that arrives is counted, compared with the delivery note and checked for damage. A product received without verification creates discrepancies that show up weeks later, when nobody remembers who unloaded it.
Step 2: give every product a logical location
Storing each product wherever it fits is the perfect recipe for chaos. Instead, assign every item a logical location: a written address that says exactly where it lives. The most practical format has three levels: aisle or module, shelf and position. For example, the code B-03-C means aisle B, shelf 3 and position C. In a warehouse with a single row of shelves, two levels are enough, such as 2-A: shelf 2, position A.
Agree on a meaning for each position letter: for example, A for the bottom level, B at chest height and C for the top level. That convention tells you at a glance whether the product is within arm's reach or requires a ladder, and it helps you assign each item to the right level.
| Type of product | Recommended location | Reason |
|---|---|---|
| Fast-moving items | Position B, at chest height and near dispatch | Fewer steps and less effort on every order |
| Heavy or bulky products | Position A or the floor of the module | Avoids lifting loads above shoulder height |
| Small or fragile items | Labeled boxes in positions B and C | They stay protected and do not get lost among large packages |
| Slow-moving merchandise | Upper levels | It frees chest height for what moves the most |
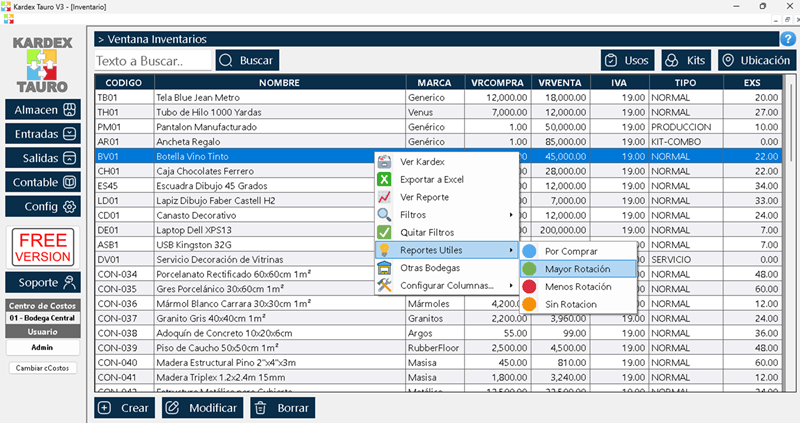
Once the locations are defined, register every item with its address. When you do it in Kardex Tauro, write on the product card the same location you painted on the shelf: the software lets you record where each article is kept in the warehouse, so that the system and the shelf always tell the same story.
Step 3: label everything, even the floor
A location you cannot see is useless. Label each shelf or module with its code in a visible place at eye level, and mark aisles and zones with tape. Every box should carry a label with the product name and its reference; if you store several items in one box, list the contents on the front instead of trusting your memory. Use the same format on every label: clear lettering, uniform size and, if possible, printed with a labeling machine or a computer. Consistency in the format matters more than creativity.
Step 4: rotate merchandise by expiration date
For products with an expiration date, the physical order must follow the rule that what expires first leaves first. When you store, put the oldest merchandise in front and the newly received behind it, so that orders always pick from the front. For products without an expiration date, apply the same criterion using the arrival date: what arrived earlier is delivered earlier.
Write the expiration date where it can be seen on each box, or use colored labels for the nearest months. Once a month, walk through the warehouse looking for products about to expire and decide what to do with them: offer them, return them to the supplier or remove them from inventory. An expired product on the shelf is wasted money that also hurts your business's image.
Step 5: keep a cleaning and tidying routine
Order is maintained with short, constant routines, not with heroic cleaning days every now and then. Establish three simple habits: return each product to its location as soon as you finish using it; clear your work area before the end of the day; and spend ten minutes each day tidying the warehouse before closing.
Once a month do a deeper review: clean the shelves, check loose labels, verify that nothing stayed out of place and take the chance to fix locations that do not work. Also include the returns zone: damaged merchandise or items waiting for a decision must be reviewed within a fixed period instead of piling up for weeks.
Step 6: take care of safety
An organized warehouse is also a safe one. Do not stack boxes above the indicated limit, keep heavy items on the lower levels and keep the aisles clear for people and hand trucks. The fire extinguisher and the exit must always be accessible, with no merchandise blocking them, and the shelves must be sturdy and anchored when they are tall.
Train your staff to lift loads without hurting themselves and to use ladders or auxiliary equipment when the merchandise is on the upper levels. The rush to dispatch does not justify an accident that stops the whole business.
Step 7: use the vertical space
In a small warehouse, the most wasted space is usually between your head and the ceiling. Before buying shelving, measure the available height and choose shelves that use it without compromising stability or safety. Move slow-moving products to the upper levels and keep the middle levels, the most comfortable ones, for what moves the most.
You can also gain space on the walls: boards for tools, hooks for brooms and cleaning supplies, and narrow shelves for light inputs free up the floor and keep everything in sight.
Record in the system what you do in the warehouse
All the effort of zones, locations and labels pays off only if the records say the same thing as the warehouse. When a product is moved, runs out or is returned, that change must be noted the same day; otherwise, the shelf and the system start telling different stories and the inventory stops being a useful control tool.
For that you can use an inventory program such as Kardex Tauro: besides tracking the entries and exits of each item, it lets you record where products are stored in the warehouse and manage several warehouses as cost centers, in case your business keeps merchandise in more than one place. Use in the system the same reference and the same location you wrote on the labels: that way, when you do the physical count, you will know exactly where to look and differences are found in minutes, not days.
Organizing a small warehouse is not a weekend project: it is a way of working. Define zones, assign locations, label, rotate by expiration date and record every movement. The reward comes quickly: faster orders, fewer duplicate purchases, fewer losses and an inventory that finally tells you the truth.
