How to make an invoice in Excel
How to make an invoice in Excel
Do you need to issue invoices but are not ready to buy billing software yet? A well-built invoice template in Excel gets the job done quickly and at no extra cost: you only type the data, quantities and prices, and the spreadsheet does the math for you. In this article we show you how to make an invoice in Excel from scratch, step by step: what data it should include, how to organize the layout, which formulas make the subtotal, tax and total calculate themselves, how to number your invoices and how to get the sheet ready to print or to send as a PDF. We will also take an honest look at what Excel can and cannot do, so you know when it is enough and when it is time to move to proper software. Downloading a ready-made invoice template is a fine starting point, but understanding how one is built gives you a real advantage: you can adapt it to your business, fix it when something goes wrong and add whatever you need. That is why this guide does not just hand you the layout: it explains the logic so you can build and maintain your own template.What an invoice should include
Before opening Excel, it helps to know exactly what information should appear. A well-made invoice includes at least:- Your business details: company name or legal name, address, phone, email and tax identification number.
- The invoice number and the issue date.
- The customer details: name or legal name, tax ID, address and email.
- The item table, with quantity, description, unit price and the amount of each line.
- The totals: subtotal, tax (when it applies) and the total to pay.
- Payment terms, due date and a space for notes.
How to build the template step by step
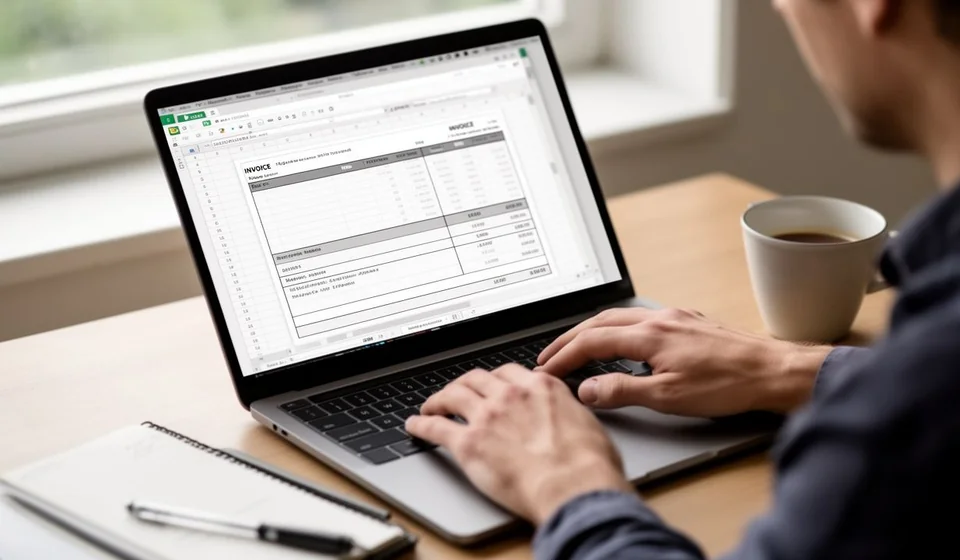
Open Excel, create a new workbook and follow these steps to put the structure together:- Build the header: at the top, write the name of your business, merge the cells so the title spans the page and add your logo if you have one. Below that, place the address, phone, email and tax identification number.
- Reserve the top-right area for the invoice number and the issue date, two details that should be visible at a glance.
- Add a customer block with name, tax ID, address and email. If you always invoice the same customers, keep a list with their data and copy it, or use a dropdown list.
- Create the item table with the headers Quantity, Description, Unit price and Amount. Leave several blank rows for the products or services, for example from row 5 to row 9.
- Below the table, place the totals block with three lines: Subtotal, Tax and Total to pay, in that order.
- At the bottom, leave a section for payment terms, due date and notes, plus space for a signature or stamp if you need one.
The formulas: subtotal, tax and total
The golden rule is to never type the subtotal, the tax or the total by hand. If you calculate them with formulas, Excel adds everything for you and the results always match, even if you change prices or quantities after entering them. To keep the example easy to follow, imagine that the amount of every line is in column B, from row 5 to row 9, and that the tax rate is stored in cell C3. Your formulas would look like this:| Cell | Formula | What it calculates |
|---|---|---|
| B10 | =SUM(B5:B9) | The subtotal: the sum of the line amounts from rows 5 to 9. |
| B11 | =B10*C3 | The tax: the subtotal multiplied by the rate in cell C3. |
| B12 | =B10+B11 | The total to pay: the subtotal plus the tax. |
How to number invoices automatically
For an invoice to be valid, its number must be sequential and without repeats. In Excel you can build the number by combining a prefix and a counter with a formula. If you keep the base number in a cell, for example A2 with the value 1, and you want the invoice to read INV-1, type this in the cell of the final number: =CONCATENATE("INV-",A2). You can also use the & operator, which does exactly the same: ="INV-"&A2. If you prefer numbers with leading zeros, INV-0001 instead of INV-1, use the TEXT function to force four digits: =CONCATENATE("INV-",TEXT(A2,"0000")). With that, the counter reaches 9999 before it needs more zeros. Keep one detail in mind: Excel will not assign the next number by itself. When you issue a new invoice, copy the file from the previous one and update the counter cell before saving. Checking that there are no repeated numbers or gaps in the sequence is a manual task, and that is one of the reasons why many people end up moving to software, as we will see later.Print and PDF setup
An invoice is either printed or sent by email, and in both cases it must look flawless. Before using it with real customers, check the print setup:- Open the print preview through File, Print, to see how the whole sheet looks.
- Set the print area: select the invoice range, for example A1:H20, go to Page Layout, Print Area and choose Set Print Area, so empty cells are not printed.
- Adjust the scale so everything fits on a single page: in Page Layout, Page Setup, enable the option Fit to 1 page wide by 1 tall.
- Turn off the printing of gridlines, under Page Layout, Sheet Options, so the invoice looks clean, and use borders only on the table.
- If you send it by email, save the file as a PDF with File, Save As, PDF: your customer will see it exactly the same on any device and cannot accidentally alter the cells.
Advantages of invoicing with Excel
For many small businesses, Excel is a reasonable option while the volume of invoices is low. Its main advantages are:- It costs nothing extra if you already own a spreadsheet program.
- There is no learning curve: anyone who handles Excel can use it.
- The design is fully customizable: colors, logo, size and data exactly as you like.
- With the formulas in place, the math of every invoice is automatic.
- It works offline and on any computer.
What Excel cannot do
But there are also serious limitations worth knowing before you settle on this option:- It does not control inventory: when you invoice a sale, Excel does not deduct the product from stock. Your inventory records become outdated unless you update them by hand in another file.
- It is prone to manual errors: a mistyped price, a wrong quantity or a formula deleted by accident shows up on the invoice with no warning at all.
- It does not guarantee the numbering sequence: repeating a number or leaving a gap is easy when you copy files.
- Files live scattered around: if the computer fails, the disk is lost or someone deletes the folder, you lose your invoice history, because there is no automatic backup or centralized copy.
- Following up is hard: knowing who owes you money, which invoices are overdue or how much you sold this month means building reports by hand.
- There is no change control: if two people work with the same template, one can overwrite the other's work.
Excel or invoicing software: when to switch?
There is no single answer, but this table gives you a practical guide to decide:| Situation | Excel can be enough | Software is better |
|---|---|---|
| Invoice volume | A few per month | Many every day |
| Inventory | You do not manage stock, or it is tiny | You need to deduct stock on every sale |
| Team | One person invoices | Several users with permissions |
| Reports | You rarely need them | You need up-to-date sales, tax and receivable reports |
| Risk of error | You accept it and double-check by hand | You want to avoid duplicates and mistakes |
Template design tips
To close, here are some tips that improve any Excel invoice template:- Separate the cells that are edited, such as quantities, prices and customer data, from the cells that contain formulas. Protect the sheet with Review, Protect Sheet and leave only the input cells unlocked, so nobody deletes a formula by accident.
- Use currency format for amounts, percentage format for the rate and align numbers to the right.
- Merge the title cells, give the table headers a soft background and use thin borders so the invoice looks professional.
- Use dropdown lists for frequent customers, through Data, Data Validation, List, and also for payment terms.
- Save every invoice with an organized name, for example Invoice_INV-0001.xlsx, inside a folder per year.
- Test the template with sample data and check the totals with a calculator before issuing your first real invoice.
