How to create barcodes for your products
How to create barcodes for your products
Every time someone in your warehouse writes down a reference by hand, types a serial number into the computer, or notes a quantity in a notebook, your inventory runs the risk of going wrong: a misread number, a code with its digits out of order, or a figure that does not match what actually left the shelf. In small businesses, those mistakes multiply as the number of products grows, and they end up as stockouts, surpluses, badly made invoices, and hours spent trying to find where the error happened.
The most practical way to avoid that chaos is to create your own barcodes for each product and read them with a scanner instead of typing. You do not need to be an expert or buy expensive equipment: generating the codes takes minutes, printing them is cheap, and the time savings show up from the very first stock movement. Here we explain what a barcode is, which symbology to choose, what information to encode, and how to print and attach the labels without making mistakes.
What is a barcode and how does it work?
A barcode is a graphical representation of information that a machine can read: a series of bars and spaces that encodes numbers or letters, or a matrix of dots in the case of a QR code. The reader shines light on the code, interprets that pattern, and turns it into text that goes straight to the computer, for example the product code 000123 or the serial number of a tool. That is its great advantage over manual typing: the information enters on its own, without keying errors and in a fraction of a second.
It helps to tell two things apart: the code itself, which is the printed graphic pattern, and the data it represents, which is the number or text printed below it and recognized by your inventory program. When you create a barcode, you are really translating data that already exists, such as a product's internal code, into a language the scanner understands. Nothing more, and nothing less.
Most common symbologies: which one suits you
Not all barcodes are the same. Several symbologies exist, each designed for a type of use, and choosing the right one prevents headaches later on.
| Symbology | What to use it for | Typical example |
|---|---|---|
| EAN-13 | Consumer products sold by unit that need a standard code recognized in retail trade. | A bottle of shampoo or a box of cookies sold in shops and supermarkets. |
| Code 128 | Internal use in warehouse and storage: it accepts letters and numbers, is dense, and takes up little space. | The internal reference PROD-A23-01 of a spare part or the serial number of a machine. |
| QR | When you need to store more information or have it read even if partially damaged. | A technical data sheet, a warranty number, or an asset record. |
For the inventory control of a small business, the most common approach is to use EAN-13 when the product goes through retail channels and Code 128 when the code is internal, such as a reference or serial number you assign yourself. If you are unsure, ask who will read the code: if it is your own staff in the warehouse, Code 128 is a simple and reliable option; if customers or outside distributors read it, EAN-13 is the expected standard.
What information should you encode
The golden rule is to encode the product's identification, not its description. The barcode should represent short, unique, permanent data, because all later movements depend on it: receipts, issues, invoicing, and stock counts.
- Product code: the internal reference your inventory system already uses. One code for each different product.
- Variants: if you handle sizes, colors, or presentations, each variant needs its own code, never one shared code.
- Serial or batch: when you must trace every unit, for example for warranties or products with expiry dates, encode the individual serial number or the batch number.
In practice: to keep your stock record by reference, encode the product code; to trace each unit, encode the serial number. Avoid encoding prices or long descriptions: they change often and would force you to reprint every label.
How to generate the barcodes
Generating a barcode is a simple process: you type the data and the tool draws the corresponding pattern. You have three main paths depending on your resources.
- Online generators: free websites where you paste the code or serial, choose the symbology, and download the image ready to print. Ideal for starting out or for a few products.
- Barcode fonts: special typefaces installed on your computer; you type the data in Excel or Word, apply the font, and get the code instantly. Great for long lists of references.
- Programs and templates: design tools or templates with barcode add-ons that let you combine the code with the product name and logo on a single label.
Whatever path you choose, always check that the number printed below the code matches the data you entered. The bar pattern can look perfect and still represent the wrong number, and that error is not visible to the eye until the code scans incorrectly.
How to print and attach the labels
Once the codes are generated, the next step is getting them onto paper and onto the product. The process changes with volume, but the logic is the same.
- Design the label: leave a white margin around the code, because the reader needs that clean zone to interpret it.
- Choose the printer: for a few labels, a laser or inkjet printer with adhesive sheets works; for high volume, a thermal label printer is faster and cheaper per label.
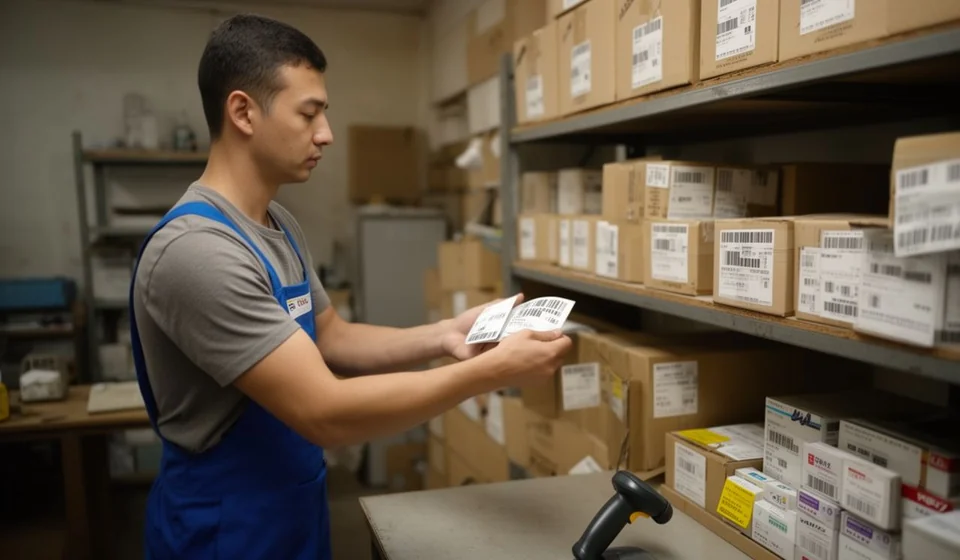
- Print a test and scan it: before printing hundreds, check with the reader that the code reads well and returns the correct data.
- Attach it on a flat, clean surface: avoid very pronounced curves, wrinkles, and greasy areas that prevent a good reading.
If you do not have a reader yet, you can validate the printout with a phone camera using a scanner app: it is a quick, free check that the code was printed correctly.
Good labeling practices
A badly printed or badly placed code costs more than it saves. These practices prevent surprises:
- One code per product: never repeat the same code on two different products, because the system will not be able to tell them apart.
- Readable size: print the code large enough for the reader to capture it at working distance; if it is reduced too much, it stops being reliable.
- Consistent placement: always attach the label in the same place on the package, preferably on a flat side without folds, so you can scan quickly without hunting for the code.
- Durability: use labels that withstand product handling; in a warehouse, a label that fades or peels off makes the product unreadable.
- Quality control: check the first printed codes of each label batch before attaching them all.
From the barcode to your inventory control
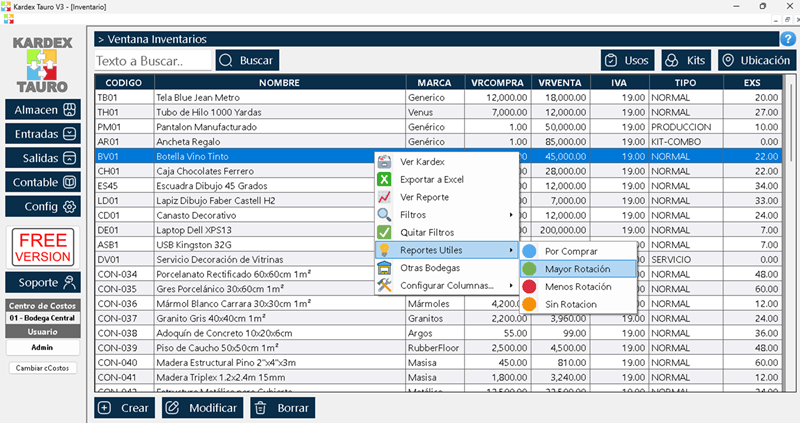
Having the codes printed is only half the job; the other half is making those codes feed your inventory record. Kardex Tauro integrates with barcode readers, so the codes you create are captured with a single trigger pull of the reader to speed up receipts, issues, and invoicing: the program identifies the product instantly, without manual typing or entry errors.
In addition, when you handle serial numbers, Kardex Tauro groups the movements by batch and validates that the serial format is the expected one, warning you if a scanned code does not match the defined pattern. That means a well-made label today becomes reliable records every day: scan, confirm, and move on with your operation.
Start with a single product if you like: generate its code, print it, attach it, and test it with the reader. Once you see how fast incoming goods are received or a sale is invoiced without typing anything, you will want to label your whole warehouse.
