How to use a barcode reader with your inventory
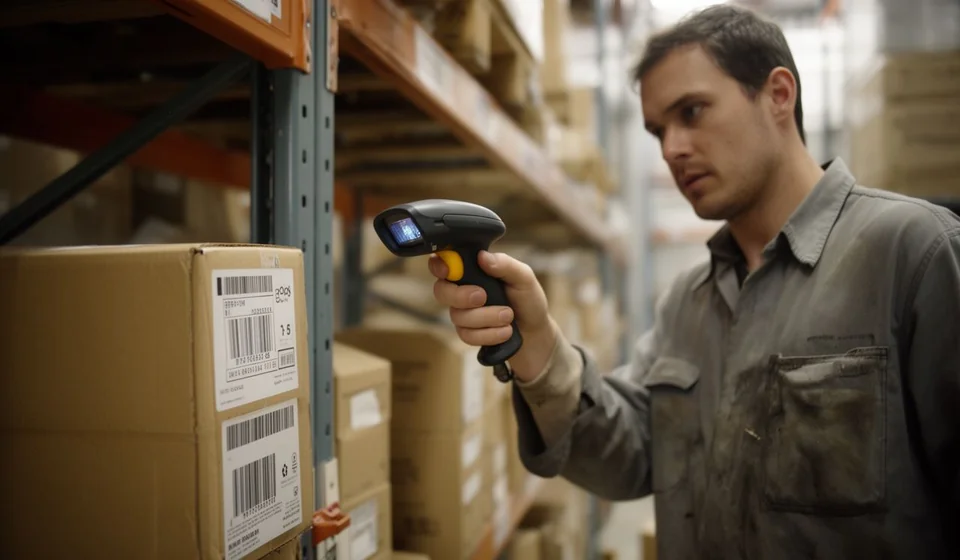
How to use a barcode reader with your inventory
Capturing product serial numbers by hand is one of the slowest tasks in a warehouse. Every unit that arrives has to be read, understood and typed into the system, one character at a time. On a delivery of forty boxes with two or three identifiers each, that means hundreds of hand-typed lines before the entry for the day can be closed.
The problem is not only speed. Typing by hand invites mistakes: serial numbers mix letters and digits, sometimes with dashes and suffixes, and the human eye confuses the letter O with the zero, the letter I with the one, or swaps two characters without noticing. One small transposition can make a product impossible to find later, get a warranty claim rejected, or keep a physical count from ever matching. A barcode reader cuts that risk to almost nothing, because it copies the code exactly as it is printed, without interpreting it.
What keyboard mode is and why it works without installing anything
Most USB readers work in what is called keyboard mode, or keyboard emulation mode. In practice this means the reader needs no special program and no driver of its own: it behaves as if someone were typing on the computer keyboard. When you aim at the code and press the trigger, the reader types the characters of the code into whichever field is active at that moment.
That is why the only real requirement is that the cursor sits inside a text field. If the cursor is in the right field, the serial appears on its own, character by character, in milliseconds. If the cursor ended up somewhere else, the characters go anywhere but where you need them. It helps to see it this way: the reader does not decide where to write; the cursor does.
The second useful concept is the suffix. Almost every reader can be configured to send an Enter key automatically after reading a code. That Enter key confirms the value and leaves the field ready for the next reading. Setting the suffix is what turns a scanner gun into a continuous capture tool: you read, the value is confirmed, you read the next one.
What working with the reader inside the program includes
Kardex Tauro ships a window called "Agregar Serial numbers", optimized to work with barcode readers. This is the actual integration you find when you open it:
| Component | What it does | What it is for |
|---|---|---|
| Window "Agregar Serial numbers" | Capture area with numbered fields | Register serials without leaving the product inventory |
| Serial 1 field | Receives the code the reader sends | Main field for fast capture |
| Fields 2 and 3 | Extra identifiers, such as batch and expiry date | Complete up to three identifiers per product |
| Button "Agregar" | Saves the reading to the product | Confirm each captured serial |
| Reader keyboard mode | Types the characters into the active field | Works with no additional software installed |
| Reader Enter suffix | Confirms the value when the reading ends | Chain readings without touching the mouse |
None of this requires a separate app or a scanner built by the software. The reader is ordinary hardware, and the program is simply ready to receive what the reader types.
How to configure the reader before you start
Before the first delivery, get two things ready: the Enter suffix and the type of code you are going to read. Neither takes more than a few minutes, and both prevent most of the frustration that comes later.
The Enter suffix. Check the reader manual or the setup codes printed on its box. Almost every manufacturer includes a sheet of codes that are read once to change behaviour: one turns automatic Enter on, another turns it off. If your reader already sends Enter, great. If not, and you would rather not configure it, you can always press Enter or click "Agregar" after each reading, although that makes the process slower.
The code type. Make sure the reader supports the type of barcode you use: Code 128, Code 39, Data Matrix, among others. A modern reader usually supports several at once, but some ship configured for just one. If you buy new labels in a format different from the usual one, it is worth testing them before a big delivery.
When the system is first set up, the recommendation is to connect the reader and verify that it works before you start using it. The simplest test is to open a text editor, such as Notepad, click inside it and read one code. If the characters appear and the cursor jumps to the next line because of Enter, the reader is ready.
Common problems and how to fix them
Most reader problems come down to three or four repeating causes. This table sums up the symptom, the likely cause and the documented solution:
| Problem | Likely cause | Solution |
|---|---|---|
| The reader captures nothing | The cursor is not in a text field, or the reader is disconnected or switched off | Click the Serial 1 field; check the connection and the power; test the reader in Notepad |
| It captures wrong characters | Dirty or damaged label, unsupported code type, wrong distance or angle | Clean the label, check that the reader supports that code type, and adjust the reading distance and angle |
| It does not send Enter automatically | The reader suffix is not configured | Check the suffix setting and turn Enter on |
| The code comes in incomplete | Reading too fast over a poorly printed label | Read again with the reader closer to the code and at the right distance |
Notice that the Notepad test splits the world in two: if it works there but not in the program, the problem is the cursor; if it does not work there either, the problem is the reader or the label.
Step by step: fast capture with a single field
This is the shortest flow. Use it when each product has a single serial number and you do not need to type anything else:
- Open the window "Agregar Serial numbers" and locate the product whose serials you are going to register.
- Click inside the Serial 1 field so the cursor is active.
- Aim the reader at the product barcode.
- Press the reader button: the serial is entered into the field on its own.
- Press Enter or click "Agregar" to confirm the reading.
- Take the next product and repeat from step 3; the field is ready for the next reading.
Step by step: capture with several fields
When a product carries more than one identifier, the reader is used only for the main field and the rest is typed by hand:
- Click the Serial 1 field and read the code with the reader.
- Type field 2 by hand, for example the batch.
- Type field 3 by hand, for example the expiry date.
- Check that the three values belong to the same physical product.
- Click "Agregar" to save the complete record.
- Put the cursor back in the Serial 1 field before the next reading.
The order matters. If you type fields 2 and 3 first and then read the code, the reader can overwrite the active field. The habit of always returning to the Serial 1 field when a record is closed prevents that slip.
Where the reader fits in daily operations
Receiving goods. This is the most natural use. The order arrives, the window is opened and the serials of every unit are captured. Because each reading takes milliseconds, a large delivery is closed much sooner and with less fatigue.
Physical counting. When you need to verify which units are really in the warehouse, the reader lets you walk the shelf and capture them one by one. Every serial is registered, so you can later compare what you captured with what the system expects.
Warranties and returns. If a customer comes back with a unit, looking up its serial in the system shows when it came in, on which document, and from which supplier it was bought. That is real traceability, and it depends on the serial having been captured correctly the first time.
Dispatches and transfers. Before handing over or moving units, reading the serials confirms that the right units are leaving and not others of the same reference.
The product inventory allows up to three identifiers per product: the main serial and two more. Those two extra fields are usually used for batch and expiry date, and they are the ones typed by hand while the reader covers the main field. Serial numbers serve both traceability and warranty backing.
A numeric example: a serial reception
Suppose a delivery of forty units with a unique serial arrives and each serial has fourteen characters. By hand, a careful person takes about twenty-five seconds per unit between reading, typing and checking. With the reader, each unit takes about three seconds, because all you have to do is aim and press the trigger.
| Item | Manual capture | Capture with the reader |
|---|---|---|
| Time per unit | 25 seconds | 3 seconds |
| Capture time for 40 units | 1.000 seconds, about 17 minutes | 120 seconds, about 2 minutes |
| Wrongly typed serials per 40 | 2 on average | 0 |
| Time for review and correction | About 10 minutes | None |
| Total process time | About 27 minutes | About 2 minutes |
| Record for warranties | Incomplete if there are errors | Complete and reliable |
The time difference is large, but the quality difference is the one you notice later. A serial typed wrong by hand shows up months afterwards, when someone looks for the unit to honour a warranty and cannot find it. With the reader, the serial that enters the system is the same one printed on the label.
If the delivery were four hundred units, manual capture would take close to four hours of continuous work, with all the accumulated fatigue that implies. With the reader, the same job drops to about twenty minutes and can be interrupted without losing the thread, because every reading was already saved to the product.
Common mistakes when using the reader
- Reading without clicking the field first: the serial disappears somewhere else on the screen.
- Not configuring the Enter suffix and forgetting to confirm every reading with the keyboard or the "Agregar" button.
- Using dirty, torn or badly printed labels and blaming the reader for the strange characters.
- Holding the gun too far away or reading at a very steep angle, which produces partial readings.
- Capturing the serial in the wrong field when the product carries batch and expiry date.
- Not testing the reader before a large delivery, and finding the problem with the goods already on the floor.
- Assuming that every reader supports every barcode format without checking it.
A practical closing
A barcode reader is not a decorative accessory: it is the difference between capturing serials with your eyes and capturing them with the machine. Configured correctly, it turns a tedious task into a two-move sequence, aim and press, and leaves the record ready for traceability and warranties.
With Kardex Tauro, the window "Agregar Serial numbers" was designed exactly for that: receiving what the reader types, saving every identifier on the product and keeping the inventory up to date without manual typing. Connecting the reader, testing it in Notepad, setting Enter and running a trial reception are four steps that leave you working with Kardex Tauro from day one.
