Declaration of residence template for Word (free download)
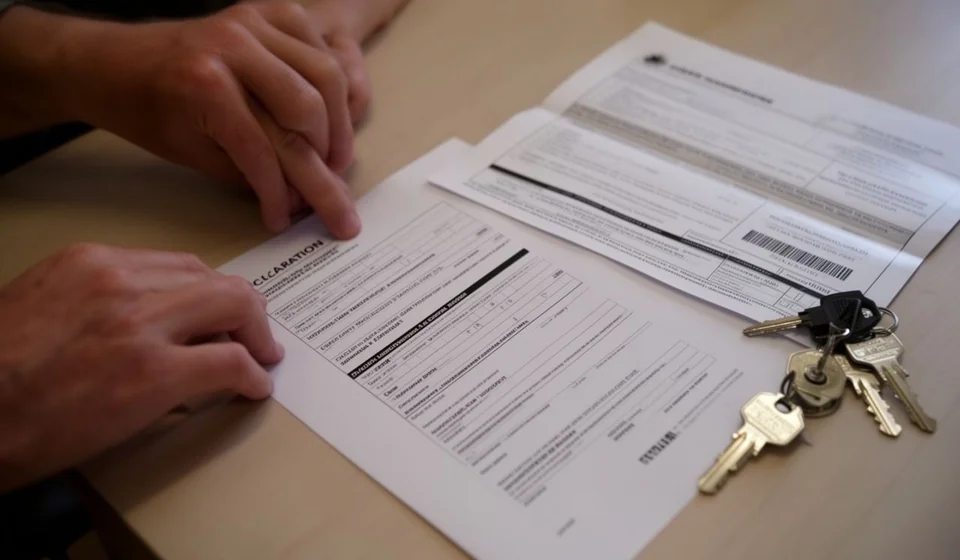
Declaration of residence template for Word (free download)
Some procedures stall over a single sheet of paper: proof of where you live. A bank that wants to confirm your address before opening a product, a company that needs the detail to complete a file, an institution that asks you to prove your residence so a request can move forward. In many of those cases, typing the address into a form field is not enough: they ask for a signed declaration, with your full details and with documents that back up what you state.
The declaration of residence template for Word you can download on this page solves exactly that. It is a short, one-page document written in the first person, in which you yourself declare that you live at a given address, state how long you have lived there and attach the supporting papers you have at hand. It is meant for people, not for large departments: the person who needs the document fills it in, with their own details, no jargon and no unnecessary steps.
In this article we explain what the person requesting a declaration of residence is actually asking for, which details you should have ready before opening the file, and which mistakes make the document lose value with whoever receives it. We also go through the template section by section and show how to fill it in without leaving loose ends.
⬇ Download declaration of residence (.docx)
What a declaration of residence is
A declaration of residence is a document in which a person states, on their own responsibility, what their current address is and from what point they have lived there. It is not a long or complex text: it usually fits on one page, it is written in the first person and it closes with the signature of the person making the statement. Its value lies not in its length but in the consistency between what is declared, the identifying details and the documents attached.
It helps to think of it as a personal statement rather than a certificate issued by an authority. For that reason, whoever receives it tends to check three things at once: that the personal details match the identity document, that the address is written in full and without ambiguity, and that there is at least one supporting document pointing to that same address. When those three elements line up, the procedure moves forward without friction; when one fails, the document comes back and you start again.
The template follows that logic. It gathers on a single sheet the identification of the person declaring, the statement of residence, the reason the document is being submitted, the list of attachments and the space for the signature. You simply complete the fields and adjust the wording to your case.
What it is for
A declaration of residence is used when someone needs to prove where they live and does not have a utility bill in their name, or when the bill exists but the procedure also asks for a signed statement. Among the most common uses are these:
- Banking and financial procedures: opening products, updating contact details or verifying an address so a request can continue.
- Internal company files: when the administrative or personnel area asks to confirm the address of an employee or a third party.
- Public and private services: setting up an account, moving a service or registering a new billing address.
- Schools and colleges: when residence has to be proven for enrolment, transport or a catchment area.
- Procedures with institutions: submitting a request that requires proof of residence as one of its requirements.
- Rentals and moves: when moving into a property, to record the address and the date from which it is occupied.
What the template includes
The template follows the usual order of these documents: first it identifies the person declaring, then it states the residence, then it explains why the document is submitted, it lists the attachments and it closes with the signature. This is the actual structure of the file:
| Section | What goes there |
|---|---|
| Title | The centred heading that identifies the document as a declaration of residence. |
| Details of the person declaring | Full name, identity document number, address, city, phone and email. |
| Statement of residence | The first-person sentence declaring that you live at the stated address, with the city and the date from which you have lived there. |
| Purpose of the procedure | The paragraph explaining what the declaration is for and who it is being submitted to. |
| Attachments | The list of three supporting documents that back up the declared address. |
| Statement and closing | The final paragraph with the city and date, and the space for the signature of the person declaring. |
As you can see, it is a simple but complete structure. There are no decorative fields: every section has a function within the procedure. If one is left empty or half filled, whoever receives the document has grounds to send it back.
How to fill it in, step by step
Before you write anything, gather the papers. Having the details at hand avoids the classic last-minute mistakes:
- Download the file and open it in Word. Save it under a clear name, for example declaration of residence plus your name, so you do not confuse it with other documents.
- Complete the title and the details of the person declaring. Write your name exactly as it appears on your identity document, with no abbreviations or nicknames, and check every digit of the document number.
- Write the full address. Include the street type, the number, the unit or apartment if applicable, the district and the city. A half-finished address is the most frequent cause of rejection.
- State precisely how long you have lived there. Add the city and the date, and check that the date is consistent with the documents you are going to attach.
- Draft the purpose of the procedure in one or two sentences. Say what the declaration is for and to which institution or department, so the reader understands the context.
- List the attachments. There are usually three: a utility bill for the stated address, a letter from the landlord or the building manager and, if applicable, a lease agreement. Attach only what you actually have.
- Adjust the closing statement with your city and the date you are signing, and review any sample text or placeholder left in the footer and the header.
- Read it all aloud, correct the spelling and sign with a pen. If the procedure asks for a copy, keep one for yourself.
What to check before signing
- That the name and document number are identical to those on the identity document, with no altered accents or swapped digits.
- That the declared address matches the address shown on the attached documents.
- That the dates line up: the date from which you have lived there cannot be later than the signing date or contradict the bills.
- That the purpose of the procedure is written and clear, with no generic phrases such as for whatever is needed.
- That the list of attachments matches the documents you are actually going to hand over.
- That the wording is free of spelling mistakes, missing accents and double spaces.
The mistakes that drain its value
The document loses strength when what it states cannot be checked. A misspelled name, a document number with one digit changed or an incomplete address force the recipient to send it back, and that round trip costs days. Another common mistake is attaching a document that does not correspond to the declared address, for example a bill from another city or from a very old period.
It also drains value to submit the document without warning the person listed as support. If your landlord or the building manager is going to be contacted to confirm the address, it is worth telling them in advance: a supporting document nobody can confirm is almost as useless as not having one. And one detail that is often overlooked: dates that do not line up between the text and the attachments raise doubts even when everything else is in order.
When it is worth moving to a system
For one person, filling in this declaration by hand once every few years is perfectly reasonable: you download it, complete it and sign it. The picture changes when the declaration becomes a repetitive task. Think of a company that receives declarations of residence from its employees, its tenants or its customers, and that also has to file them, find them when they are requested and check that the details are still current. That is where the loose sheet starts to fail: versions get duplicated, attachments go missing and nobody is quite sure which one is the latest.
At that point, a management system helps to centralise each person's documents, to record the date each declaration was received and to flag when a detail needs updating. Kardex Tauro is built for that kind of control: bringing together in one place the documents and data tied to each record, so that finding a particular declaration does not depend on the memory of whoever filed it. It is not a substitute for the signature or the supporting paper: it is the way to avoid losing either.
This model is a general guide for internal use: review it with your adviser and confirm with the institution which document it requires before submitting it. Always attach proof of the address and keep a signed copy for yourself.
