Lab report template for Word
Lab report template for Word
A lab report is where a practical session stops being a memory and becomes evidence. It states what you set out to check, how the work was done, what you observed and what those observations actually support. Without that order, even a well-run session looks improvised: the data sits on its own, the reader never finds the aim and the conclusions read like opinions.
This template gathers in a single Word file the eleven sections that science teachers usually ask for, both at school and at university. It is meant for the student who already has the data in a notebook and needs to organise it, and for the one who does not yet know where to start writing. It works the same for chemistry, physics, biology or earth science, because it does not depend on one particular session: it depends on the logic of a report.
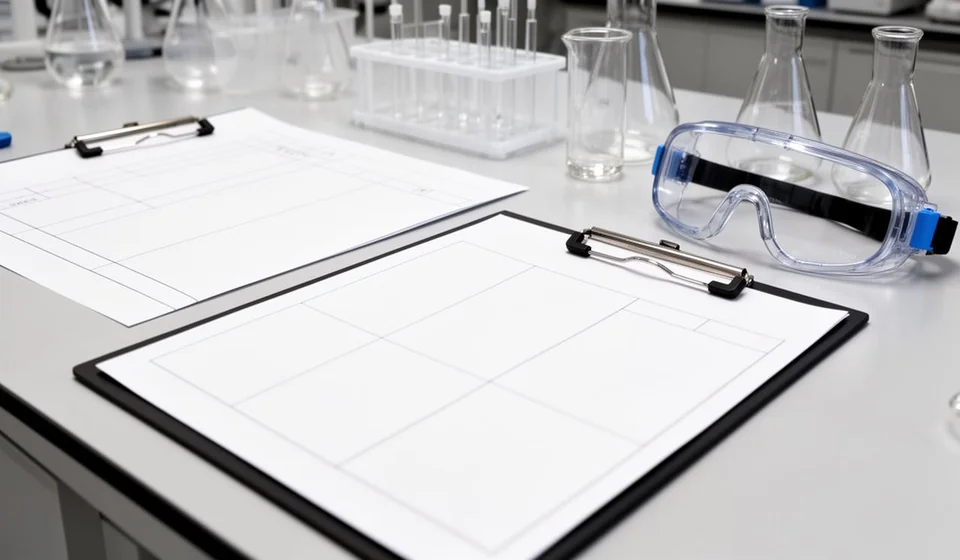
The format can be printed and filled in by hand during the session, or completed on screen afterwards. The headings are already in place, the data tables have their space and the control boxes wait for the reviewer's signature. All that is left is to write, to measure and to justify what you claim.
⬇ Download lab report (.docx)It helps to read the report as a chain: if one link is weak, the following ones fall. A vague aim drags a messy procedure behind it, and a messy procedure makes it impossible to analyse the data honestly. That is why the template insists on order rather than length.
What it is and what it is for
A report is not a story of what we did, but the argument that runs from a question to an answer supported by measurements. Everything written in it exists to make that path easy to follow and easy to check.
- It orders the whole session: aim, background, procedure, data and analysis in one document, with no loose sheets or lost annexes.
- It forces you to keep what you observed apart from what you interpreted, which is the central difference between a reading and a conclusion.
- It records the conditions of the work: date, place, materials, equipment used and who was responsible for the session.
- It serves as practice in scientific writing before you face longer pieces of work, where the same rigour is taken for granted.
- It makes marking easier, because each block has its own space and can be reviewed section by section instead of read all at once.
- It lets you repeat the session with judgement: if something went wrong, the report shows where the work drifted and what should change next time.
The difference shows when the report is written while the session is still fresh: questions about the setup are settled with a glance at the bench, not with a guess a week later. Writing with the template beside you, section by section, also removes the blank page problem, because every block carries one concrete question waiting for an answer. And when the report is saved with its code and its version, a student can compare what they wrote in the first session with what they write in the fifth, which is the clearest way to see that the writing itself has improved.
What the template includes
The sections are not decoration: each one answers a different question, in an order you can defend in front of any teacher. The control table at the end also makes the document identifiable and traceable if it later has to be corrected or handed in again.
| Section | What you write |
|---|---|
| Session details | Date, subject, title of the session, team members and the teacher in charge. |
| Aim | What is to be checked or measured, in one or two clear sentences with a measurable verb. |
| Background | The ideas and formulas that explain why the session should produce that result. |
| Materials and equipment | A list of what was used, with quantities and the state each item was in. |
| Procedure | The steps followed, in order and in the past tense, with the conditions of each setup. |
| Data and observations | Measurement tables and notes on what was seen, what was surprising and what could not be measured. |
| Calculations and results | Formulas applied, units and the results obtained from the recorded data. |
| Analysis | A comparison between what was expected and what was obtained, trends and reasons for the differences. |
| Conclusions | What the opening question was answered with and what remains open for a later session. |
| Sources of error and safety | What may have altered the readings and which safety rules were followed during the work. |
| Control and signatures | Document code, version, teacher review and the signatures of those responsible. |
If a session does not allow you to fill in one of the sections, it is better to mark it as not applicable than to invent content. An empty space can be explained in class; an invented reading is found during marking and costs the credibility of the whole report.
How to use it step by step
- Fill in the session details at the top before you write anything else: date, subject, team members and teacher. If you work in a group, make clear who wrote each section, so that questions have somewhere to go.
- Write the aim in a single sentence with a measurable verb: compare, determine, verify or describe. If the aim does not fit in one sentence, two sessions are mixed together and should be separated.
- Explain the background with only what is needed to follow the work. This is where the formulas you will use belong, with the meaning of each symbol and the units you are working in.
- Enter the data in the tables as soon as you finish measuring, instead of copying it later: it is the simplest way to avoid transcription mistakes and to forget a repeat run.
- Write the procedure in the past tense and in order, including the changes you made along the way. Anything not written down cannot be reviewed later, neither by the teacher nor by you in the next session.
- Change the institution name that appears in the footer and use your school, college or university instead, together with the name of the person signing the report.
- Update the document code in the control table, with the version and the date of this submission, and save the file with a name that includes the session and the group.
- Review before handing in: every table should carry units in its heading, every result should be explained in the analysis, and the conclusions should answer the aim rather than the whole session.
If your teacher asks for the report in a different format, this template still works as a script: the order of the sections changes, but the content is already thought through and the data stays in its table.
If instead the report is written from memory at the last minute, what goes missing is exactly what cannot be rebuilt: the real order of the steps, the moment when a reading began to drift away from what was expected, or the reason why a reading was repeated. Those details are what separate a passed report from a returned one, and they also explain why two groups that did the same work do not get the same mark. Reading the report again the next morning, before handing it in, is the last cheap chance to fix it: after the deadline, every correction costs twice as much.
Common mistakes
- Presenting data without units, or with different units in the same column: a value without a unit says nothing and a mixed column forces the reader to guess.
- Writing the conclusions before the analysis, when the conclusion rests on the data and not the other way round.
- Copying the procedure from the session handout instead of describing what was really done at the bench.
- Leaving the footer with another institution's name and the document code out of date, something that shows up on the very first page.
- Leaving out the sources of error, which are exactly what shows that the experiment was understood and not only the result.
- Handing in without checking the spelling and without signatures, when the control box asked for both from the start.
None of these mistakes is fixed at the end: they are avoided by writing in order. Drafting the report with the template in front of you, while the data is still fresh, costs far less than rebuilding the session a week later.
When to move to a system
The Word template works very well while each student keeps a report of their own, or while one teacher reviews a few sessions per term. The problem appears when a laboratory collects many reports a year, with several teachers, several subjects and the need to find a document by date, by group or by code. At that point the loose file starts to cost more time than it saves: versions multiply, the latest correction is lost and nobody knows which report is the current one.
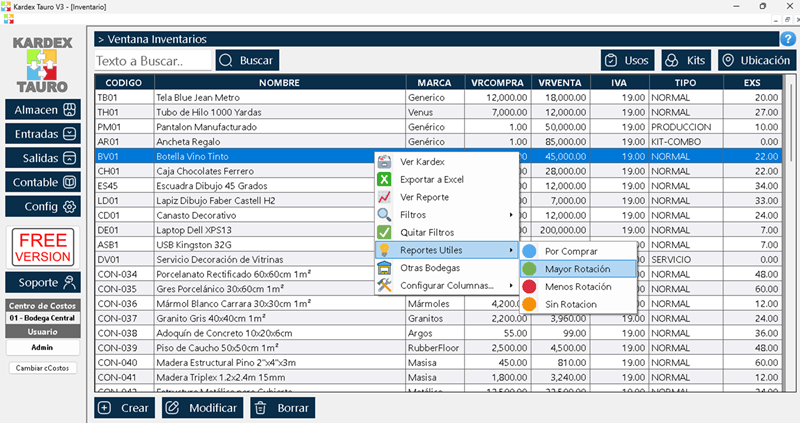
That is where Kardex Tauro makes sense: it keeps each document with its code, its version and its review history, without changing the way the student writes. It does not replace the laboratory work; it stops that work from being lost. If your volume is still small, this template is more than enough. If you have already lost an afternoon looking for a report, it is a sign that the time has come to organise it differently.
This template is part of the index of Word templates, which gathers them grouped by family.
⬇ Download lab report (.docx)